Setup a WebDAV Server on macOS
Access FileBrowser Pro Files from Other Devices with WebDAV
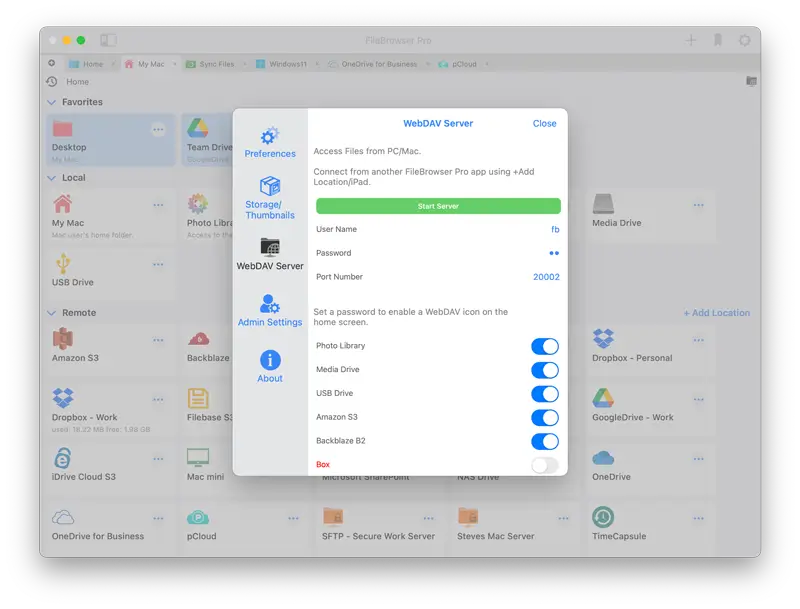
You can access your FileBrowser Pro connections from another computer or mobile device by enabling FileBrowser's WebDAV server and enabling the locations you want access to, these can include mac folders, network drives, or your cloud storage accounts.
Start the WebDAV server in FileBrowser Pro on macOS
- Tap the Config icon, top right then select > WebDAV Server
- Enable the FileBrowser connections you want available via your WebDAV server such as:
- Your SMB connections
- Photo Library
- Amazon S3
- Backblaze
- Box
- Digital Ocean S3
- Dropbox
- FileBase
- Storj
- NextCloud
- GoogleDrive
- iDrive e2 S3
- SharePoint
- OneDrive
- pCloud
- FTP
- SFTP
- WebDAV
- Wasabi
- Set a password
- Start the Server
- A popup will appear with the FileBrowser WebDAV URL you will need in the steps below
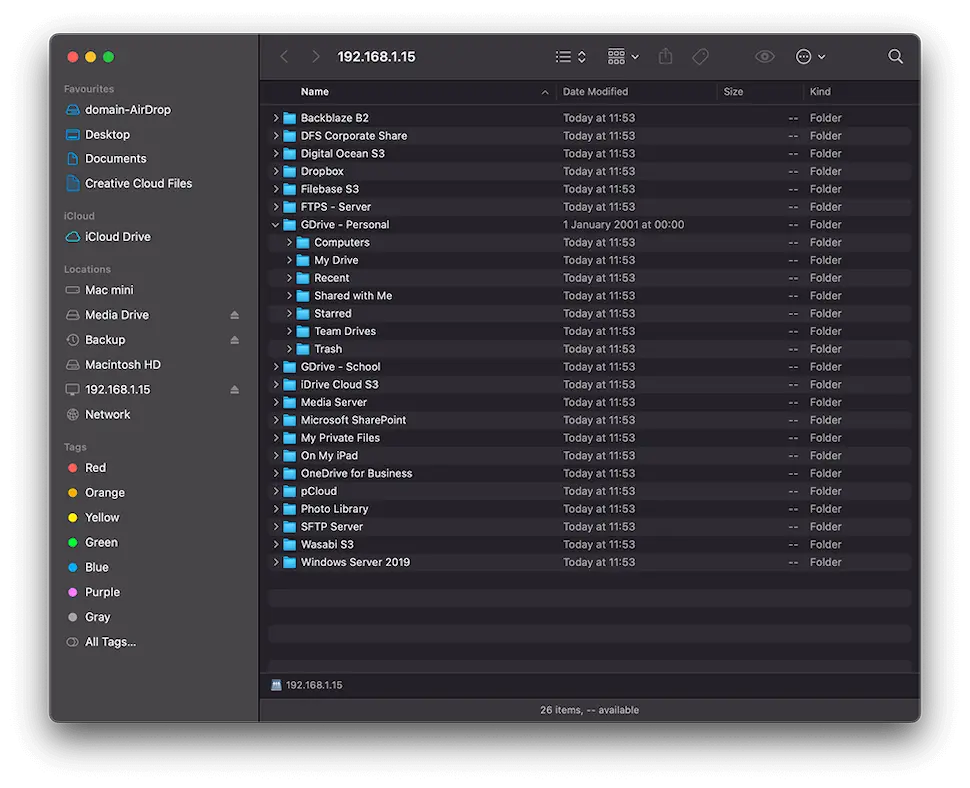
Connect to your macOS WebDAV server from another Mac
- In Finder, choose Go/Connect to Server from the Menu
- Enter the FileBrowser WebDAV URL into the address field.
- Enter the account name "fb"
- and your Password you set before you started the server
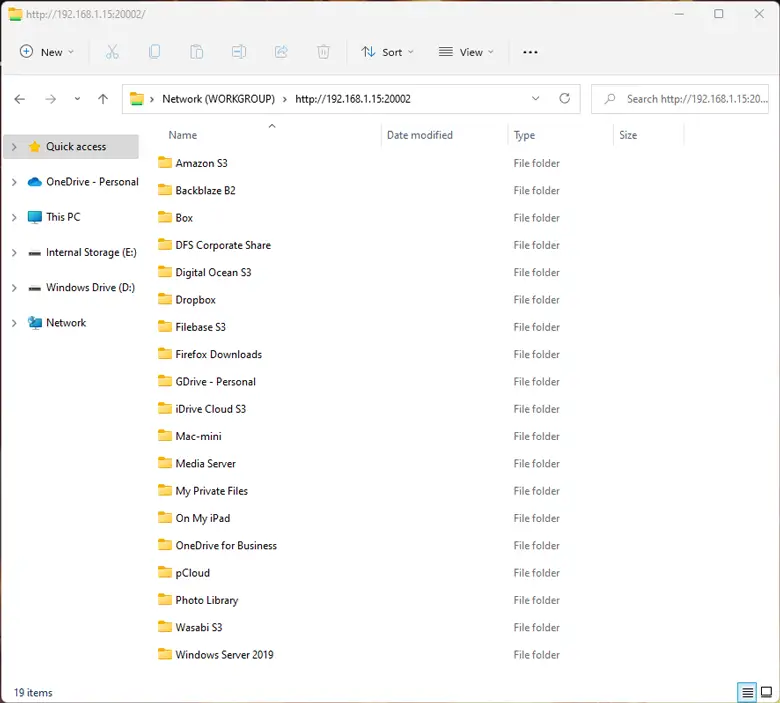
Connect to your macOS WebDAV server from Windows
- In Windows File Explorer, enter the FileBrowser WebDAV URL into the top bar. Then press enter
- Enter the account name "fb"
- and your Password you set before you started the server
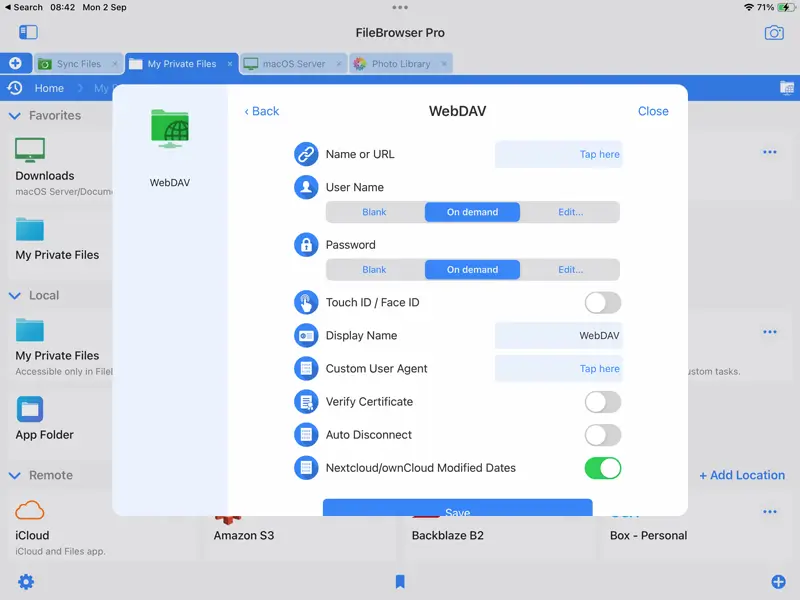
Connect to your macOS WebDAV server from iPhone / iPad
- Apple iOS devices do not support WebDAV directly. A third party app is required such as FileBrowser. You can download a free trial here, with subscription and one off purchase options available.
- Open FileBrowser clck the "Add location" button on the homescreen
- Choose "iPhone/iPad" then tap "Scan Now". This will start scanning for FileBrowser WebDAV servers running on other devices.
- Alternatively open FileBrowser and tap "Add Connection" then select "WebDAV" from the list.
- Enter the address that was displayed in FileBrowser Mac. If you cant see it, tap the flashing WebDAV icon to the right of the breadcrumb bar, then click the "Click here" sentence in the top of the dialog.
- Enter the account name "fb"
- and your Password you set before you started the server
Estimated Time: 1 minutes


