How to browse Time Capsule files with your iPad or iPhone
Follow our simple step by step guide to browse your Apple Time Capsule with your iPhone or iPad.
These details apply to TimeCapsule and to AirportExtreme devices with attached USB hard drives - where 'TimeCapsule' is mentioned below, if you have an AirportExtreme, the same applies.
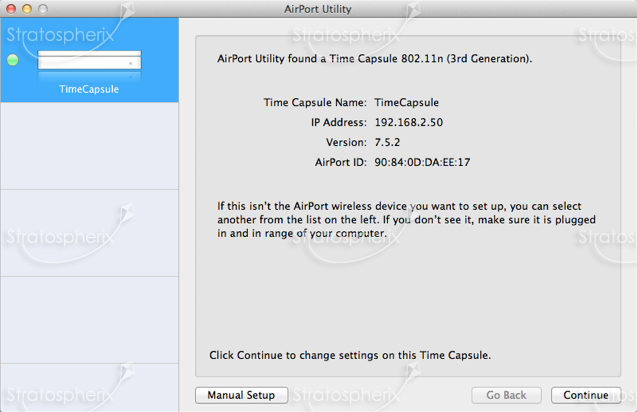
When you launch the AirPort Utility you should see a screen like this. If your screen looks different click here.
If you then click the 'Manual Setup' button you will see the next screen...
Finding TimeCapsule's Address
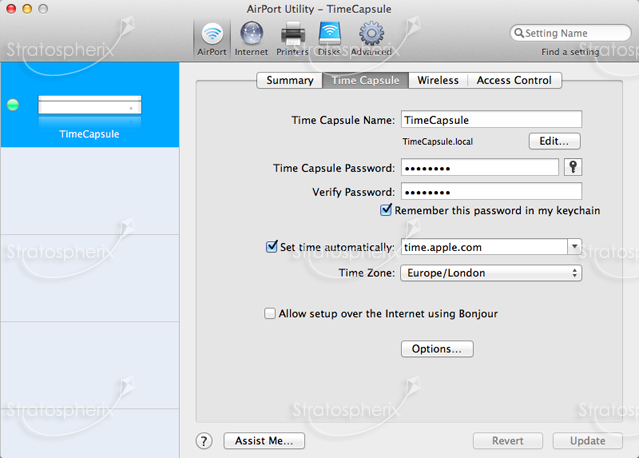
- Click the "Airport" icon at the top of the utility.
- Select the "TimeCapsule" tab to reveal the page to the right. Then click the "TimeCapsule Name:" field to reveal the full network name (shown in small text next to the "Edit..." button). In this example it is "TimeCapsule.local". Enter this into FileBrowser's "Address" field.
If you cannot connect we suggest you try using the IP address instead. To do this:
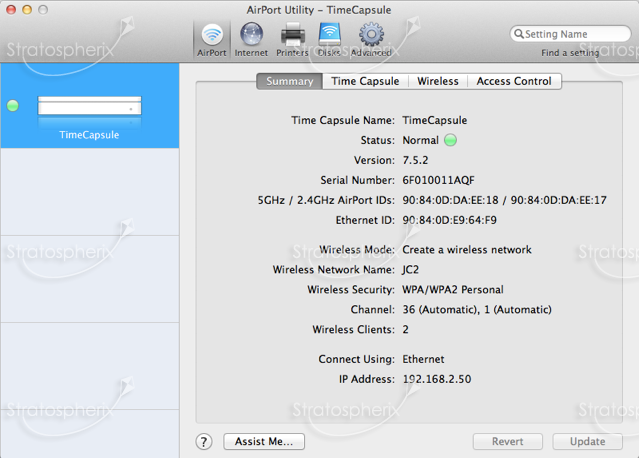
- To find the IP address of your TimeCapsule, for FileBrowser's "Name or URL" field, click the "Airport" icon at the top of the utility and then click the "Summary" tab.
- The IP address is shown in small text at the bottom of the screen.
- If this IP address doesn't work, please try using the one shown in the first screen, as per the screenshot at the top of this page.
Enable File Sharing
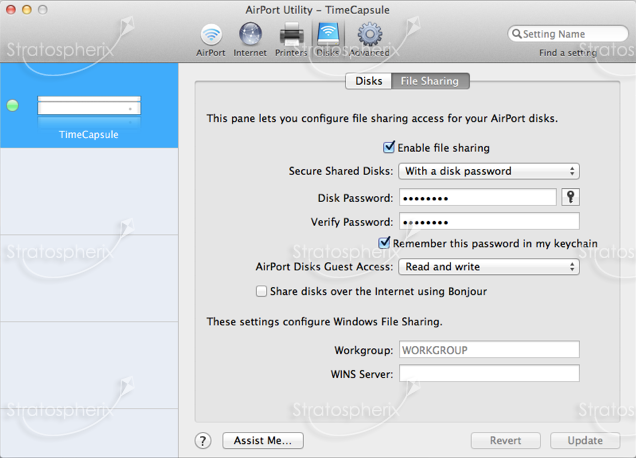
- Select the "Disks" icon at the top of the utility.
- Select the "File Sharing" tab.
- Ensure that "Enable file sharing" is ticked.
- Choose from the "Secure Shared Disks" drop down list. The FileBrowser supports all 3 modes.
- If you choose the "With accounts" option, the username you configure here is the same one you will need to enter into FileBrowser's Username field.
- For the other 2 options, you can leave FileBrowser's Username field blank and just enter the password.
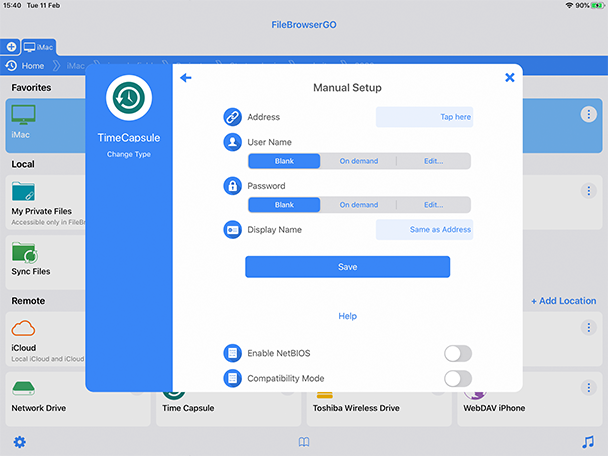
Connect using FileBrowser
- Tap "Add Location" on the home screen to the right of the "Remote" section.
- Tap "Manual Setup".
- Then tap "Change Type" underneath the NAS icon on the left, and select "TimeCapsule".
- Enter the IP address or full domain name of your TimeCapsule into the "Name or URL" field.
- Set the Username and Password fields depending on how you configured file sharing in the 'Enable File Sharing' section above.
- Save these settings
- Tap the new location on your home screen to connect.
Compare FileBrowser
Versions
Unsure which version of FileBrowser is for you? Check out our comparison page.