Easily Backup your iPhone Photos to your Cloud Storage or Computer
Backup your Photos from your iPhone Without Paying for iCloud
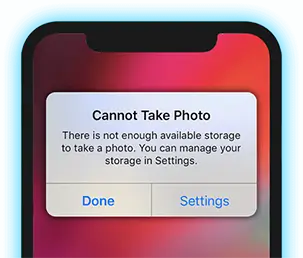
Have you ever gone to take a video or a photo and your iPhone has said "Not enough storage". It's amazing the amount of photos and videos we all keep on our devices these days. If you don't want to pay for iCloud storage there is another way you can backup your photos from your phone then clear them down to give you more space.
Simply use FileBrowserGo or FileBrowser Professional to create a Backup Task. If you are using FileBrowser for the first time you will need to set up connections such as Google Drive or your Computer for it to backup to.
How to Backup your Camera Roll to your Computer or your Cloud Storage
Easily backup the Photos or Videos from your iPhone or iPad without iCloud. You can even backup your photos to multiple locations for added piece of mind, just repeat the steps below and setup 2 backup tasks.
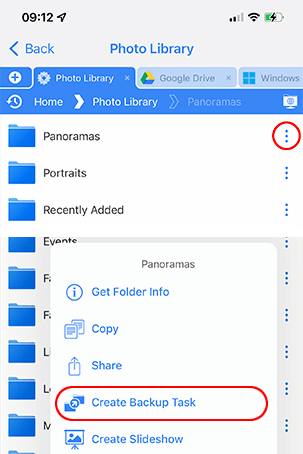
Choose Which Photo Folders to Backup
- Open FileBrowser then select "Photo Library" from the home screen then you can backup either the Camera Roll or the Moments folder by tapping on the Folder Context menu, see the difference below.
- Camera Roll: This is one folder with all your photos and videos. Exactly like if you tap Albums in the bottom bar of the Photos App and then select Camera Roll.
- Moments: This is a set of folders with dates and a unique numbers containing your photos.. Exactly like if you tap Photos on the bottom bar of the Photos App.
- Videos - Just your Video files. (These take up the most space.)
- Select "Back"Create Backup Task"
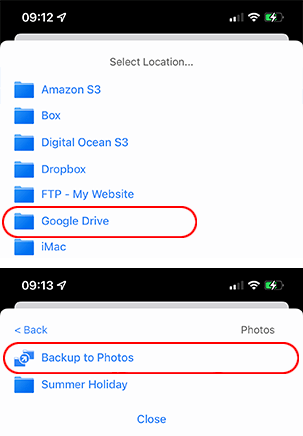
Choose Where to Backup your Photos to
- Select either your Computer or your cloud storage account.
- Once inside the folder where you want your backup, tap the "Backup to (your folder name)" at the top of the menu.
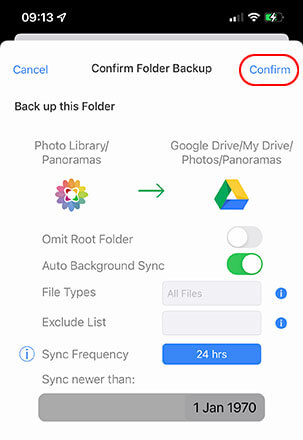
Confirm your Backup Settings
FileBrowser's Backup feature will never delete a file in the source folder.
Live Photos will be exported as a sequence of photos and a short movie file.Requires you to be on the same wifi as your computer, if backing up to cloud storage any wifi will do.
If you enable "Auto Background Sync" any new photos will also be backed up to your location, make sure you open FileBrowser on your iPhone and check any Backup tasks have been completed before deleting any files.
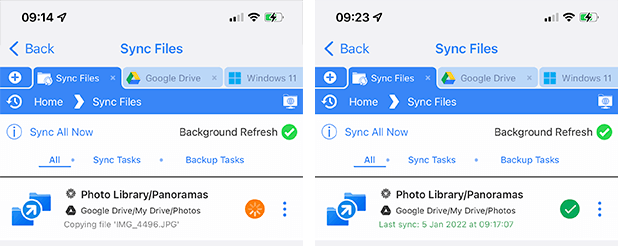
Check your Backup Progress
Give the Backup Task a chance to complete, you can check this by tapping the "Sync Files" section on the Homescreen. If you have a green tick then the task is complete. We recommend reviewing the target backup folder to check that all items have backed up successfully. You can now delete a few videos or images from your iPhone to clear up some room.
You can backup your photos to more than one location for extra peice of mind, simply repeat the steps above and choose a different backup locations. This allows you to backup your iPhone pictures to your computer, a wireless hardrive and Google Drive for example.


Unsure which version of FileBrowser is for you? Check out our comparison page.