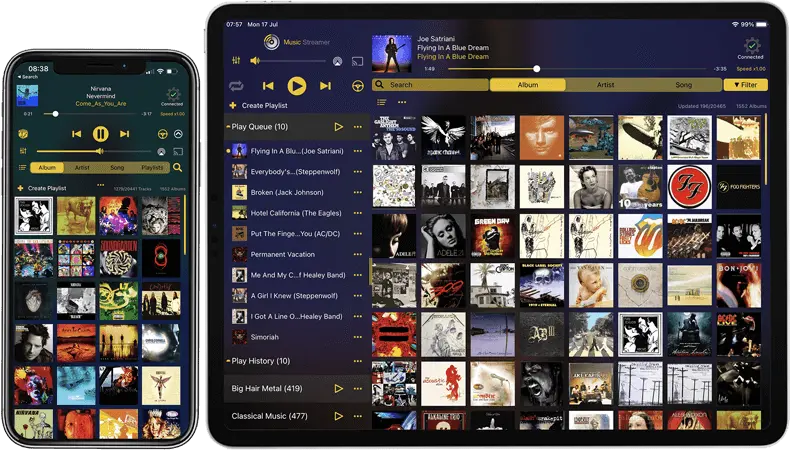
Setup MusicStreamer iOS App with Mac
How to Scan your MP3 Music Collection on macOS from your iPad/iPhone
Enable File Sharing on macOS
Follow our simple step by step guide on how to enable File Sharing on macOS and browse your music library with your iPad or iPhone using MusicStreamer.
macOS File Sharing may not be enabled, especially if you don't have other computers on your network or this is the first time you have tried to access shared folders over your network.
Use the following steps to enable File Sharing on macOS.
How to Share a Folder
Step 1
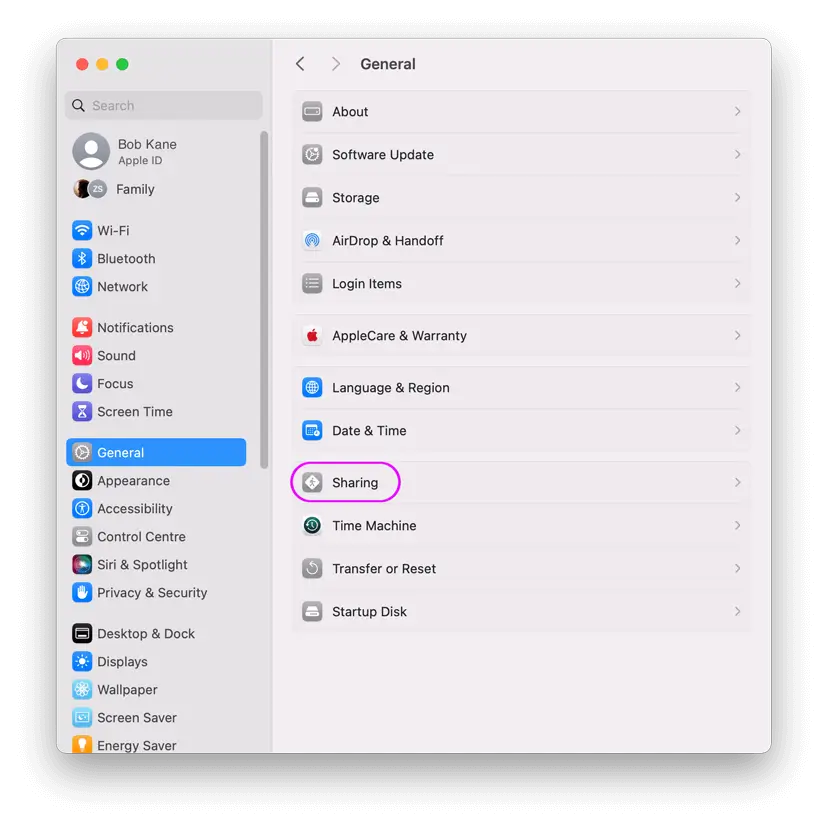
- Open the 'System Settings' app on your Mac.
- Select 'General' in the left hand pane.
- Select 'Sharing'.
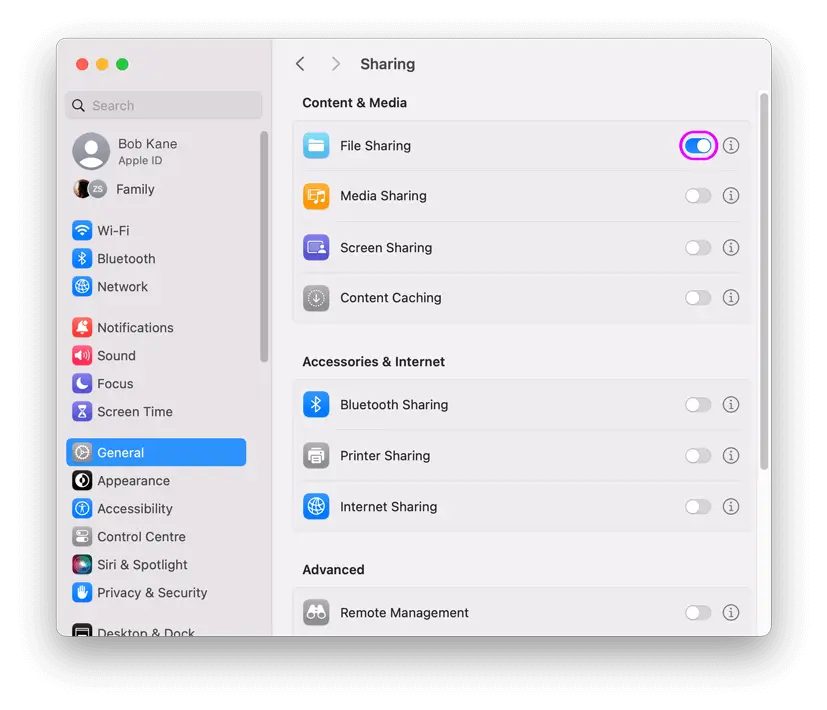
Step 2
Switch on 'File Sharing', and then click on the 'i' to the right of the 'File Sharing' switch.
Step 3
- Under the 'Shared Folders' list, click +
- Choose your music folder to share and click 'Add'
- Click the "Options" button.
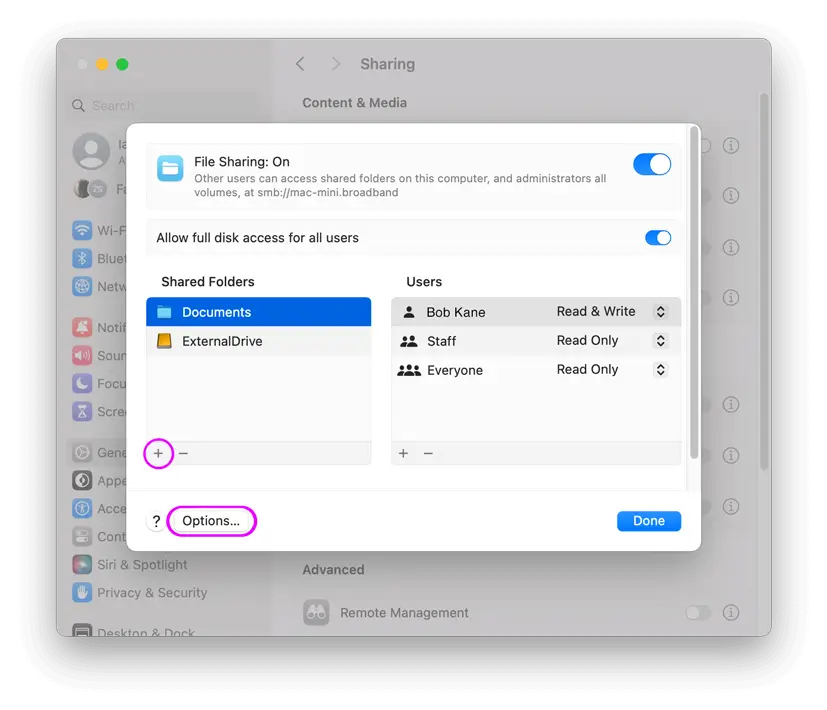
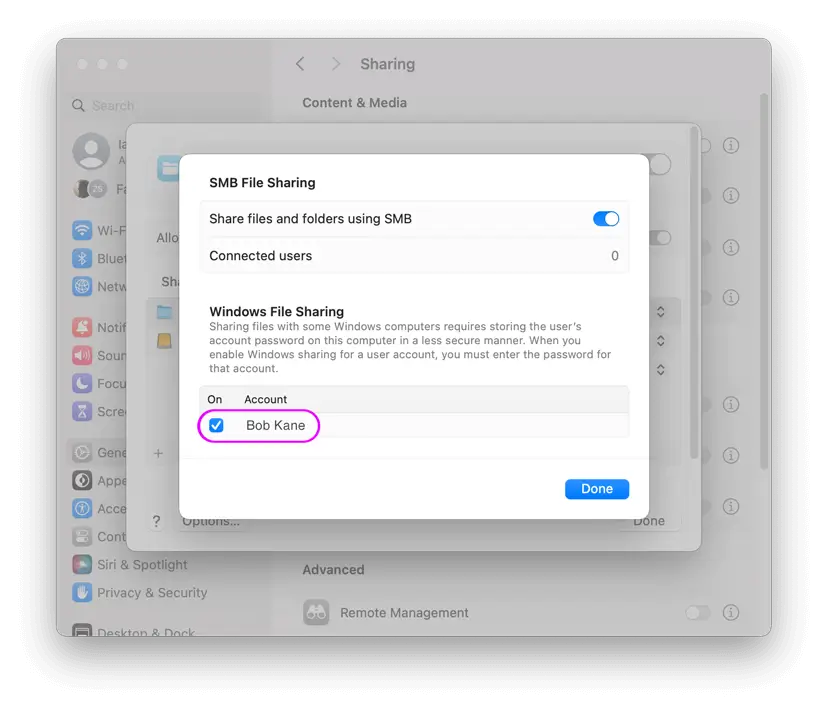
Step 4
Ensure that your user is ticked.
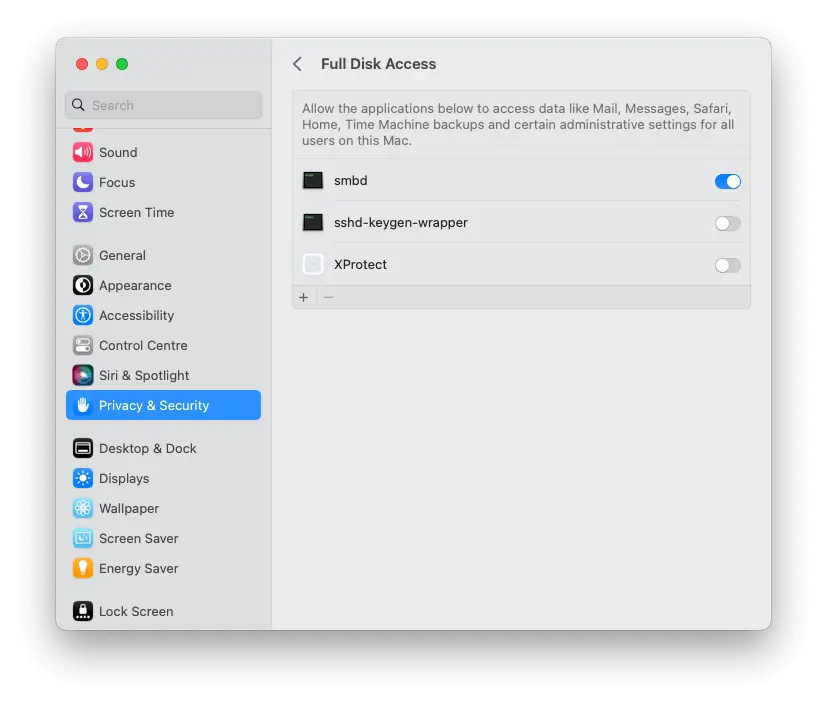
Step 5
Then close this window, select "Privacy & Security” from the System Settings left hand pane and click on “Full Disk Access”.
Switch on ’smbd’.
Do a network scan in MusicStreamer again. Come right back if your Mac isn't found automatically.
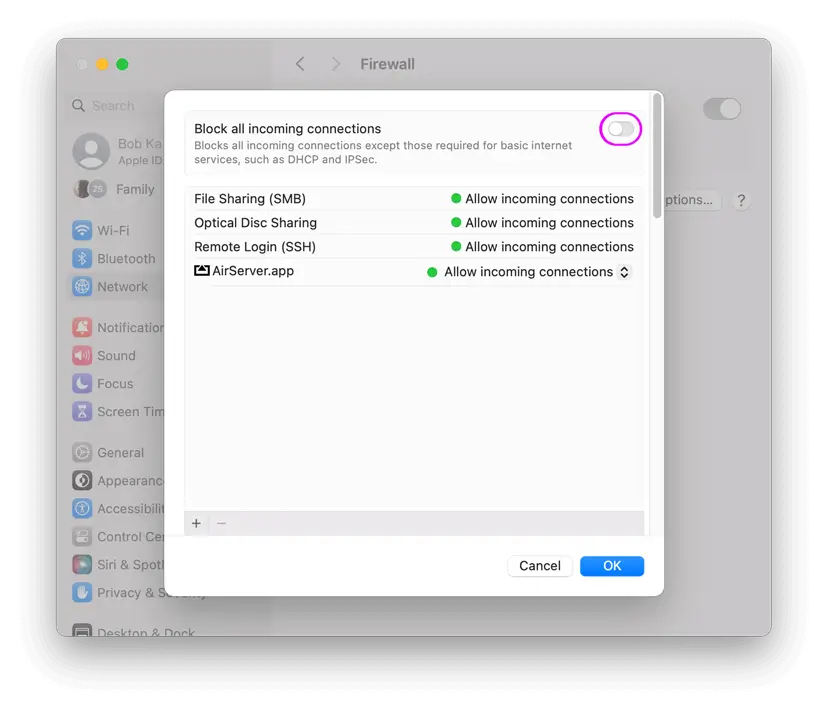
How to Configure macOS Firewall
You should now be able to connect MusicStreamer to your Mac. If you can't then the macOS firewall may be blocking the network.
Use the following steps to navigate to the firewall control screen.
- Bring up System Settings.
- Click "Network" in the left hand pane.
- Click "Firewall".
- Then click the "Options" button.
- Ensure that "Block all incoming connections" is switched off.
If the scan hasn't worked try adding it manually
- Tap the 'Manual Setup' icon that appears after you have started a scan.
- Enter your machine name (shown in the screenshot above labelled 'A') or IP address (shown in the screenshot above labelled 'B') and tap 'OK'.
- Enter your username and password used to access your Mac. The username is your logon username for your Mac (shown above in the screenshot above labelled 'C').
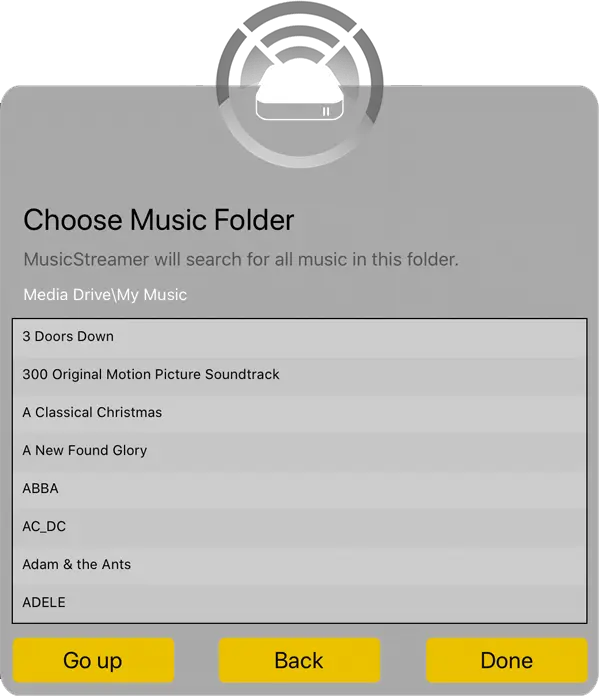
- Choose your music directory. By default MusicStreamer will locate your iTunes Music folder. If your music is stored elsewhere on your drive simply locate it and tap 'Done'.
And that's it.
If you still can't connect please email us at support@stratospherix.com
FAQ
-
How do I play music from my Mac to my iPhone via WiFi?
Stream songs from your music folder on your Mac to your iPhone or iPad easily with MusicStreamer. Simply connect via WiFi and index your music folder, to play your favorite tracks, albums or playlists.
-
Can I transfer music from my Mac to my iPhone without iTunes?
Yes, If you connect over WiFi to your macOS music folder with the MusicStreamer app, any song, album or playlist can be downloaded to your iOS device for offline listening. Try the FREE trial.
-
Can my existing playlists on my Mac be used by MusicStreamer?
Yes, simply share a playlist file into MusicStreamer and it will match the tracks against the current music library and add new playlists.
-
Can I play music from my Mac to a Chromecast device?
Yes, Simply connect to your Mac via WiFi with the MusicStreamer app, scan your music folder and cast your tracks, albums or playlists to your Chromecast device. Also support Chromecast speaker groups.
Free Trial

Download Now
